


How to Complete Start Paperwork on Mobile
First, you'll get an email from Production (it will come from Revolution Mailer) that looks like this:
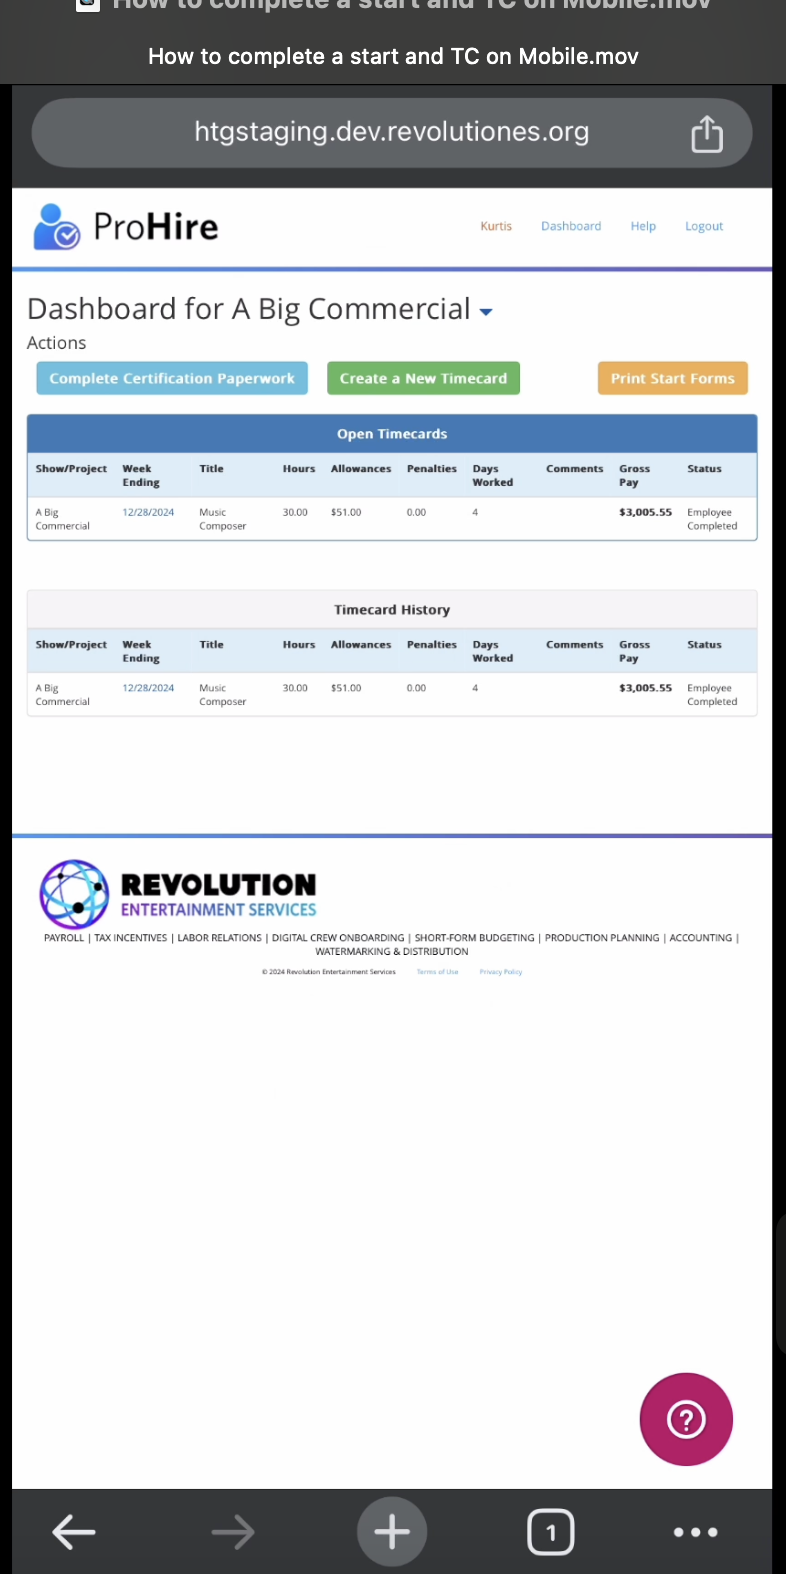
Then, click "Go to Dashboard"

Open your dashboard with Chrome if you have it installed on your phone. That is the browser of choice.
If your dashboard presents you with a login screen, please log in using the last password you made on a previous job. If you log in and don't see your new project, please reach out to support.
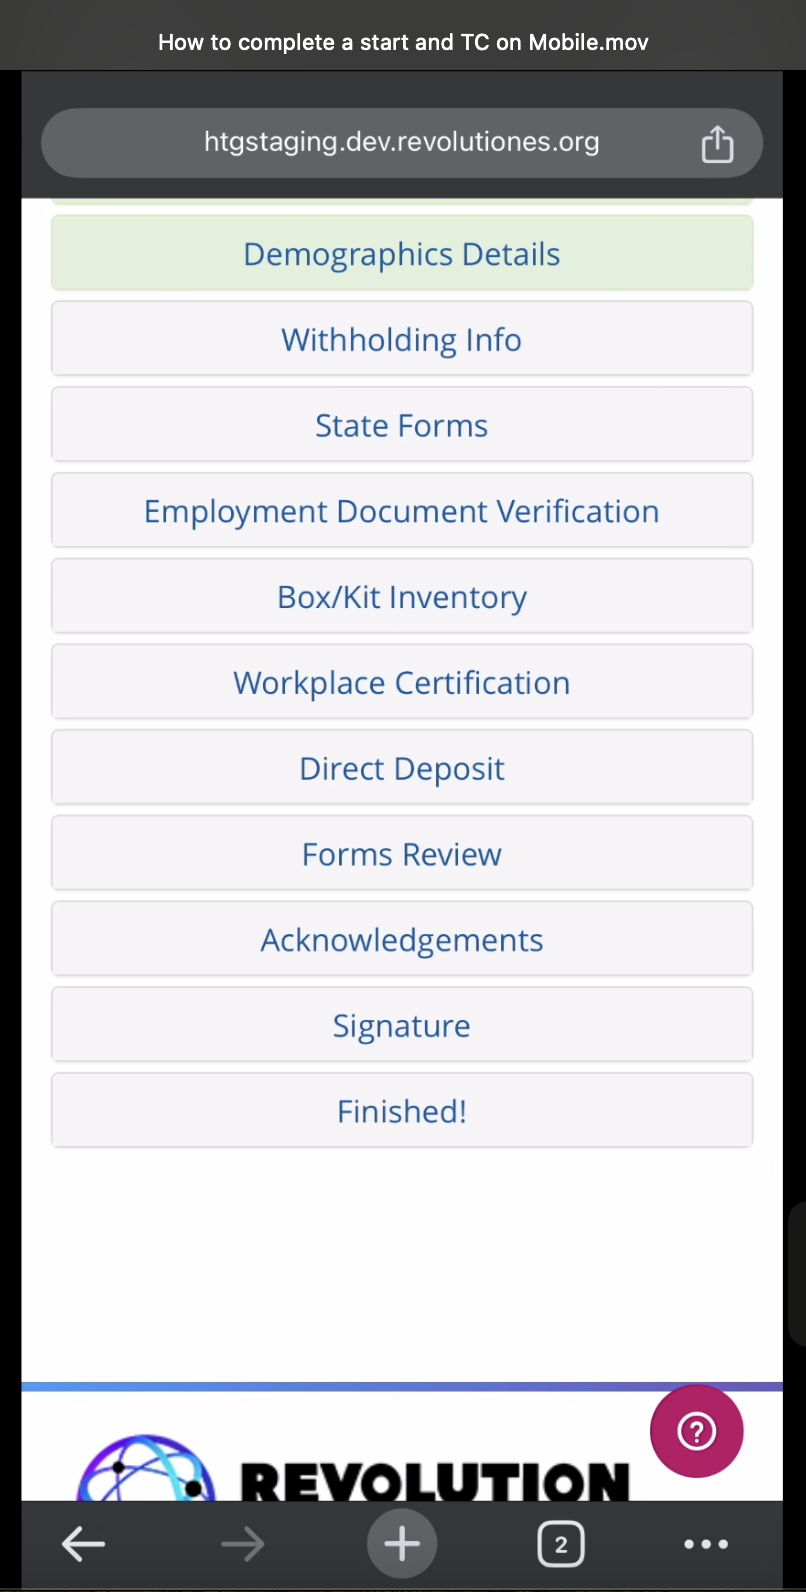
It's important to fill out each module of your start paperwork in order and to fully complete all modules. The information below will outline what's needed in each module.
Clicking on the (?) module will give you the option to send us an email if you get stuck (include your name, project name, and any other relevant information). Please reach out anytime M-F 6 AM - 6 PM (PST) and we will get back to you shortly. If outside business hours, we will get back to you as soon as we can.
Welcome _____ Module:
If your name has a slight mispelling or is a nickname rather than your legal name, you can continue (and edit your name in the "Please Add Your Personal Info" module) by clicking "Yes I Agree."
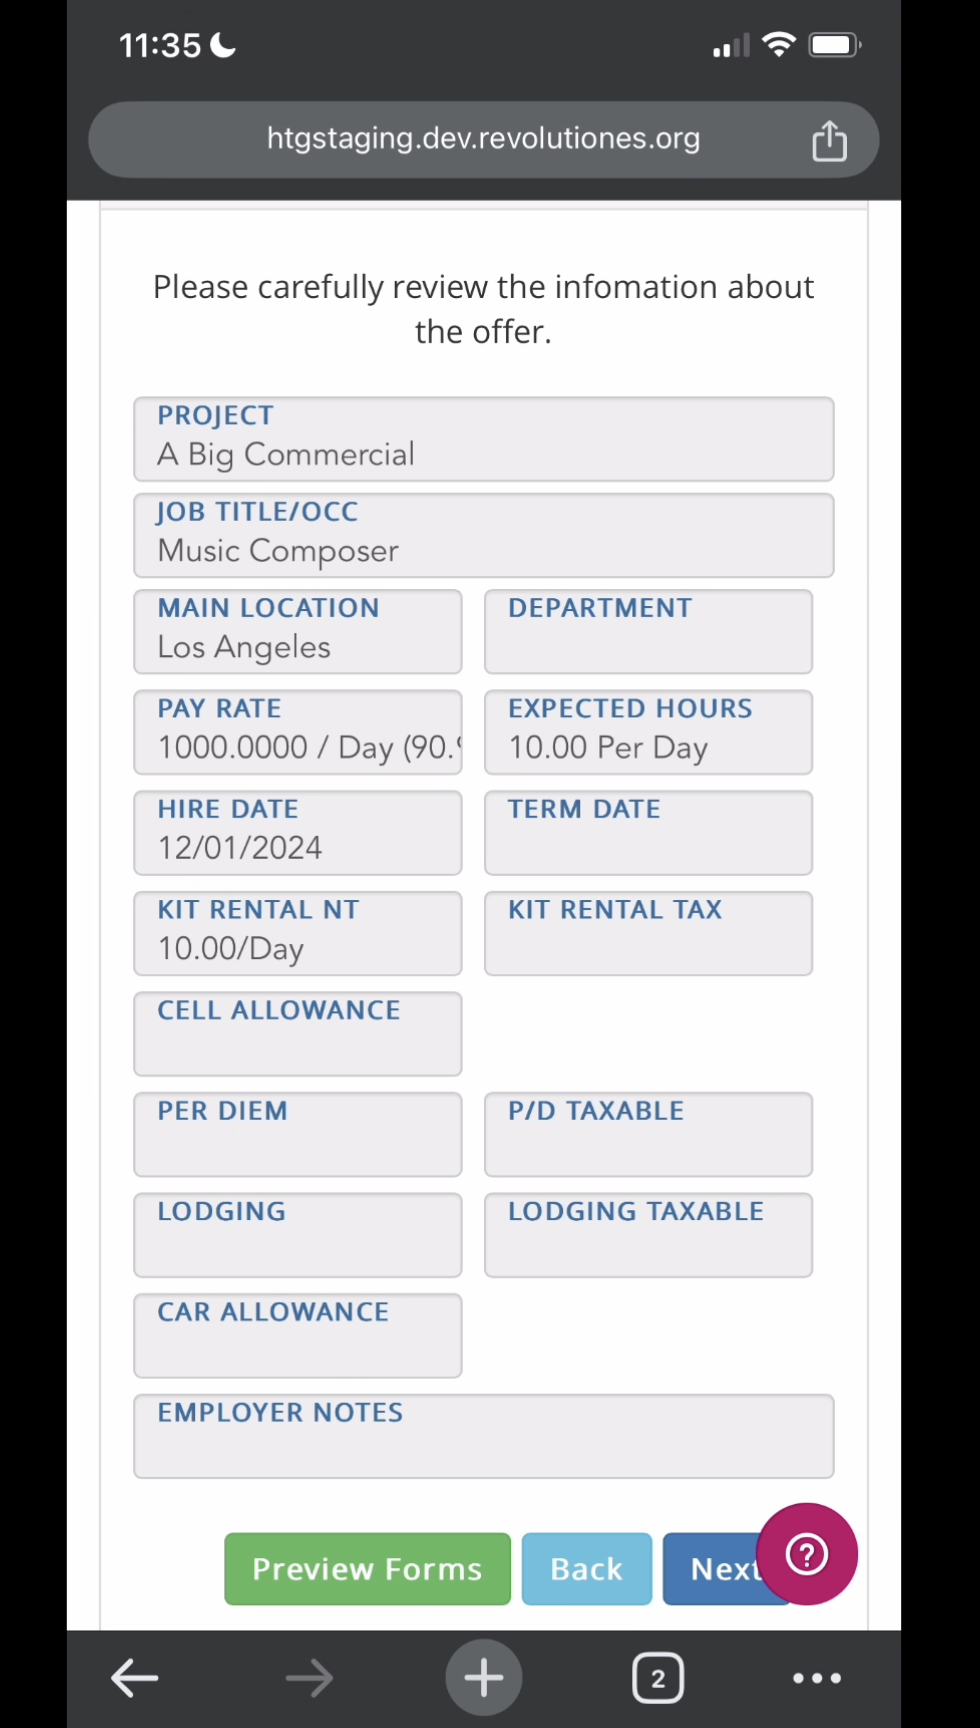
"Review Job Details" Module:
This is where all of the information is locked and entered by production including your project name, job title, main job location, pay rate, expected hours per day, hire date, term date, kit rental, and other allowances. Please be sure to read and heed the "Employer Notes" where your Production may give you special instructions. If any of this information is incorrect, please do not continue to fill out your start paperwork and contact production to update your job information. Click "Next" if it all looks good!
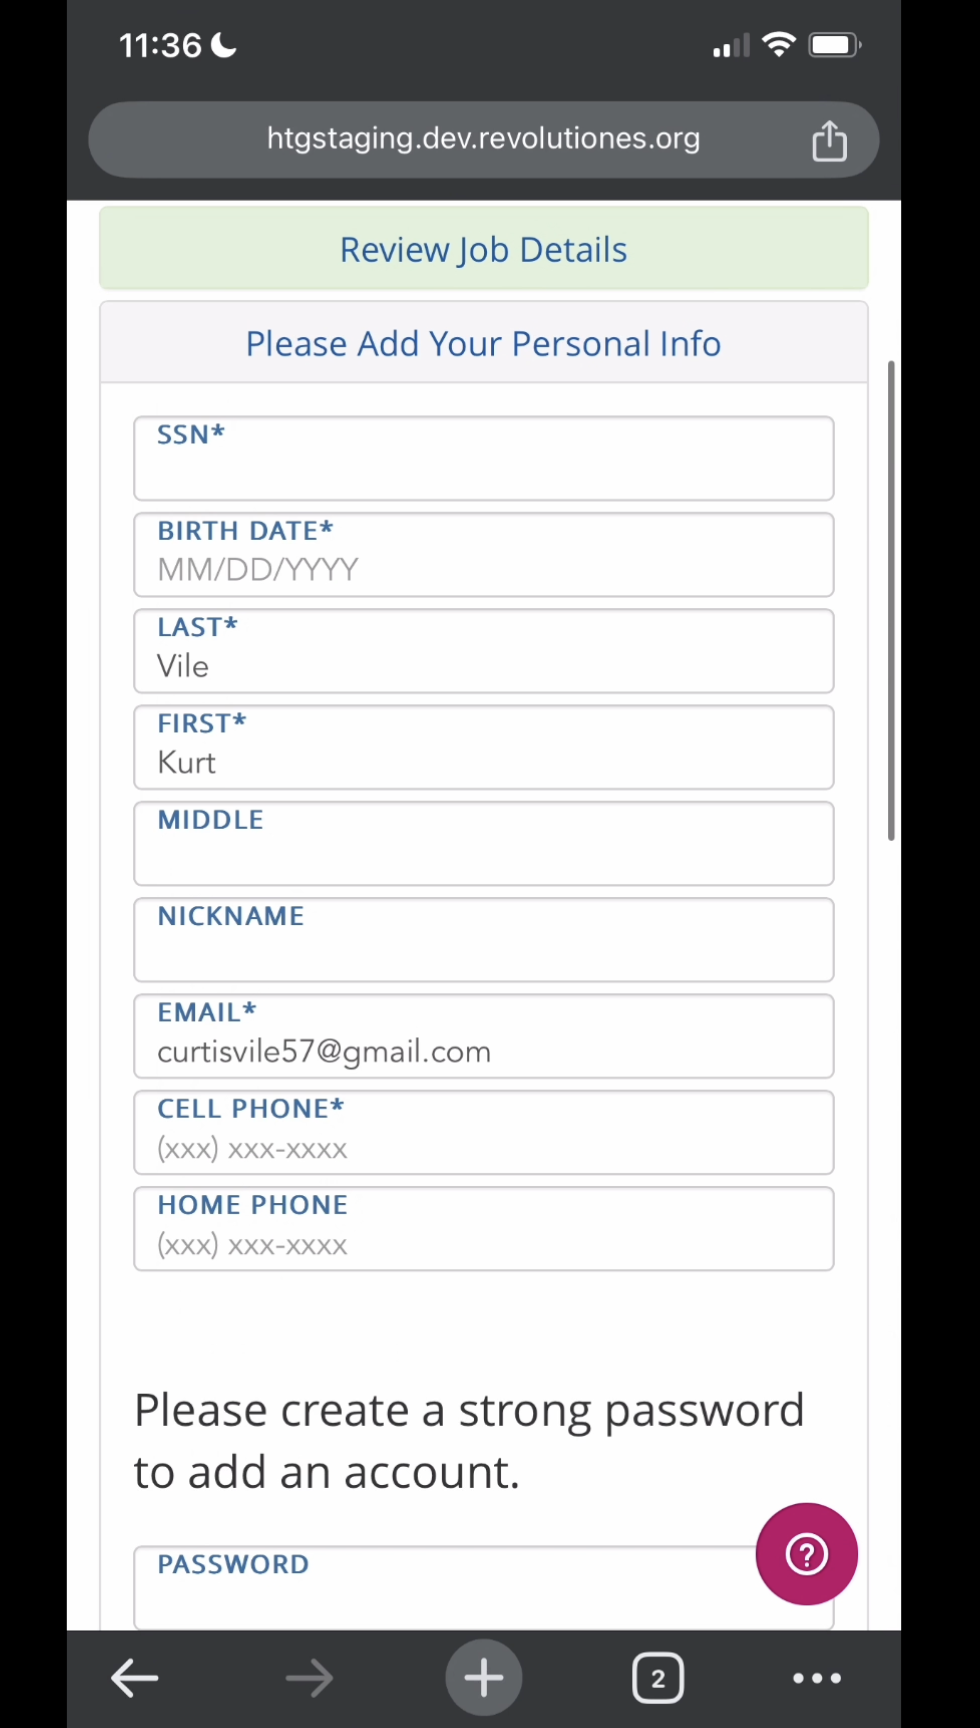
Please Add Your Personal Info Module:
Enter your full social, birthday (in mm/dd/yyyy format), edit the spelling of your name if it's other than your legal name, and add your cell phone number. Next, enter and re-enter a strong password for yourself. This will be the password you'll use to log in here: https://www.revolutiones.com/oasis/employee/login to create your weekly timecards with your email as your username. Click "Next."
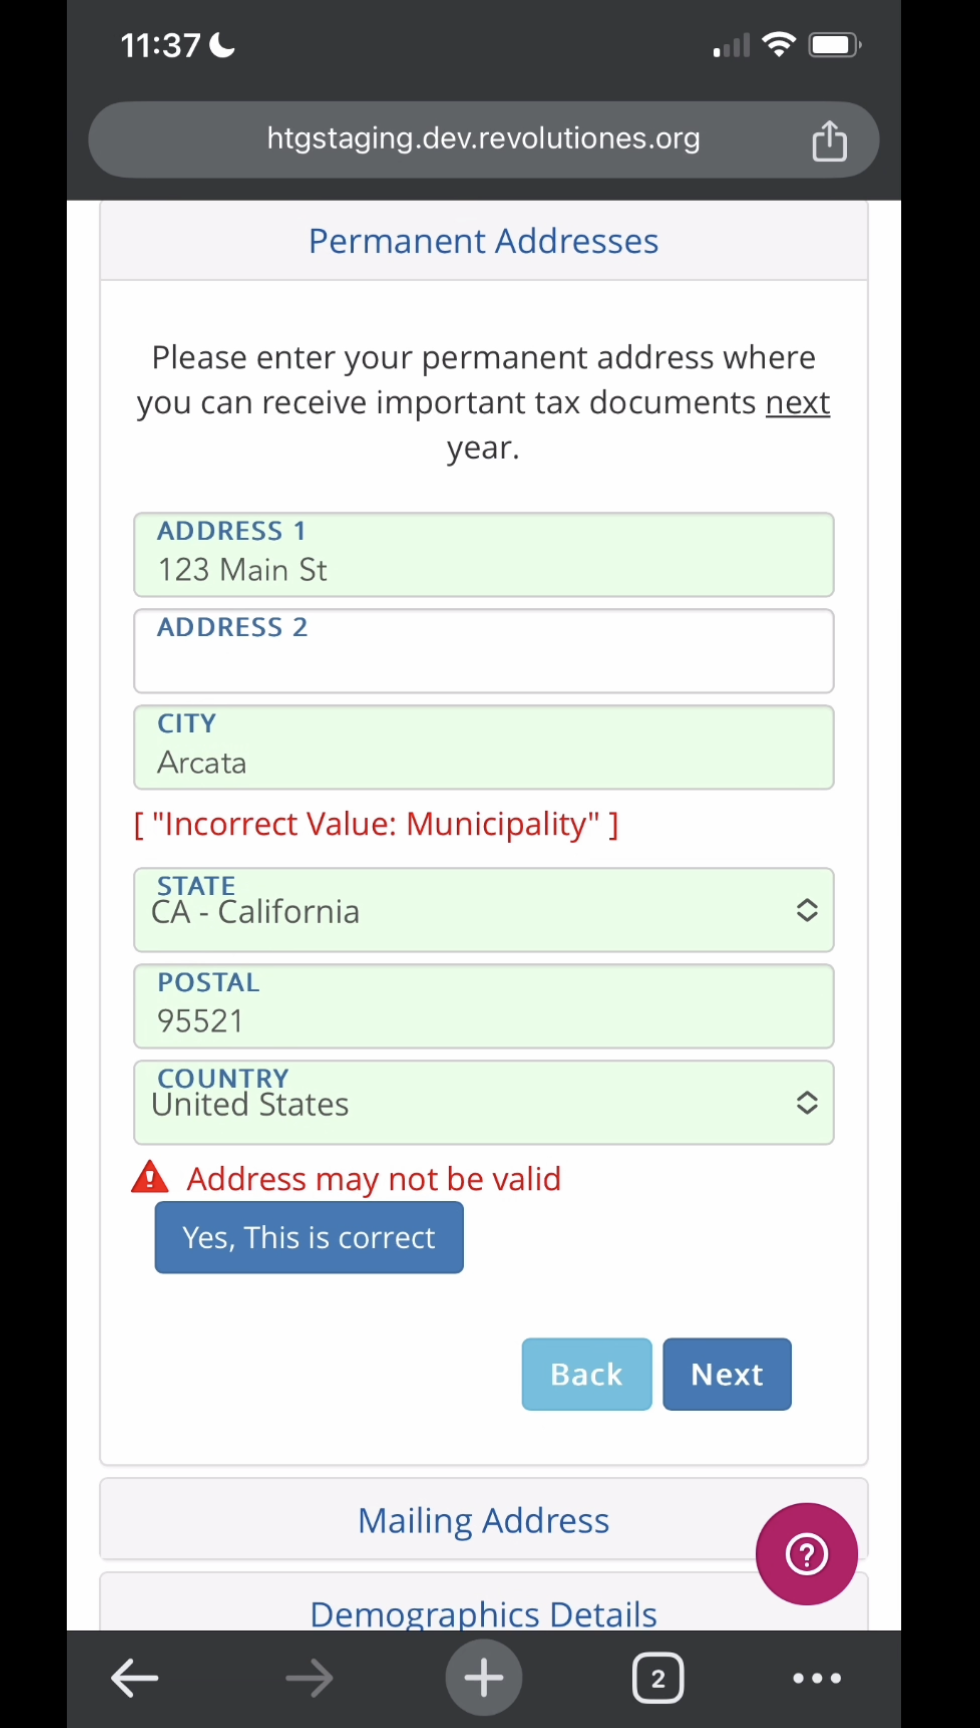
Permanent Address and Mailing Address Modules:
Your permanent address is the address that will be on your tax documents. Enter it and click "Next." If you have a different mailing address, you can enter it in the next module "Mailing Address." If your permanent address and mailing address are the same, you only need to enter your permanent address and you can leave blank and click "Next" on the mailing address module. Please note, you may need to "override" your address by clicking "Yes, This is correct" if the system thinks it's incorrect. Please double-check to ensure your permanent address (and mailing if applicable) are entered correctly because we wouldn't want your paychecks and tax documents going to a wrong address! If you need to update your address after your start paperwork is complete, please fill out this form: https://www.revolutiones.com/form/

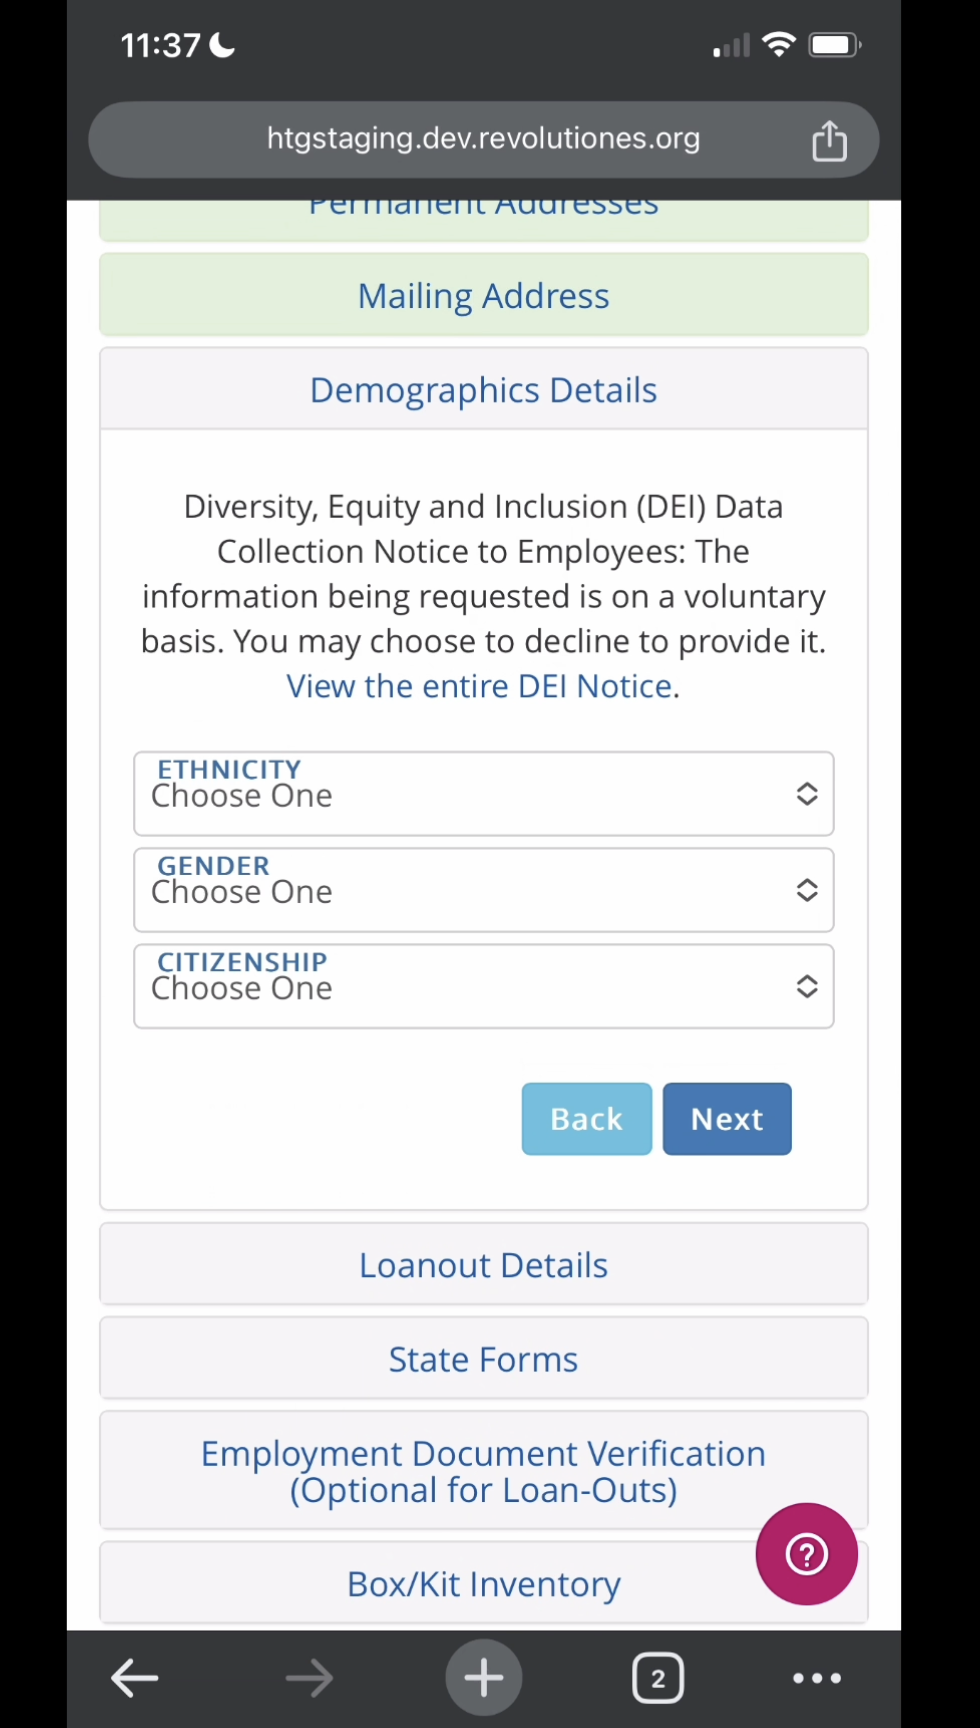
Demographics Details Module:
You must select an option for ethnicity ("I Do Not Wish to Disclose", "Other", and "Two or More Races are all options"), Gender ("I Do Not Wish to Disclose" and "Non-Binary" are options), and Citizenship. Click "Next" after making your selections.
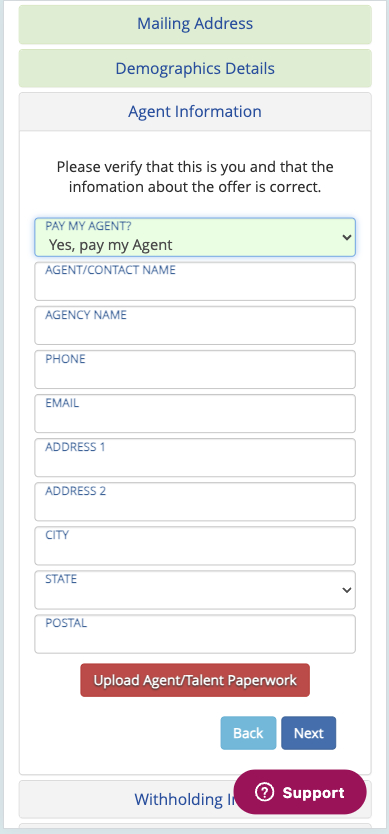
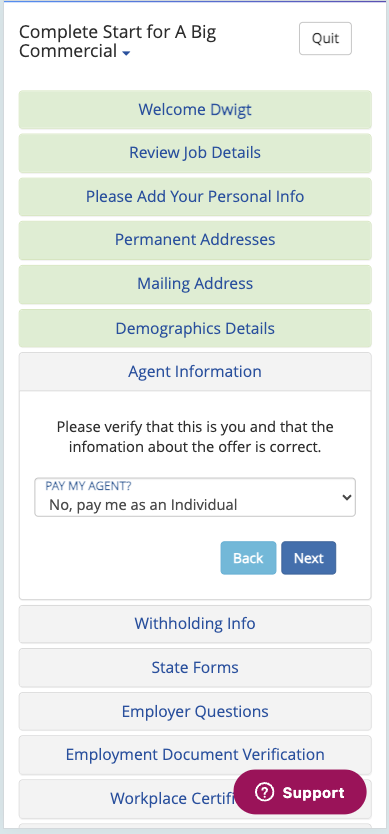
Agent Information Module (if production gave an agent option):
Please double-check with production if they gave your agent a percentage of your pay, and if so, please fill out your agent's full address and other details and upload a check authorization form via the red button that says "Upload Agent/Talent Paperwork" so your pay goes to your agent. Your check will then be mailed to your agent if you select "Yes, Pay my Agent" and fill out the details.
If production did not give your agent a percentage, please choose "No, pay me as an individual," and you are responsible for paying out your agent if they require it. Your payment will be mailed to you unless you fill out the direct deposit module.
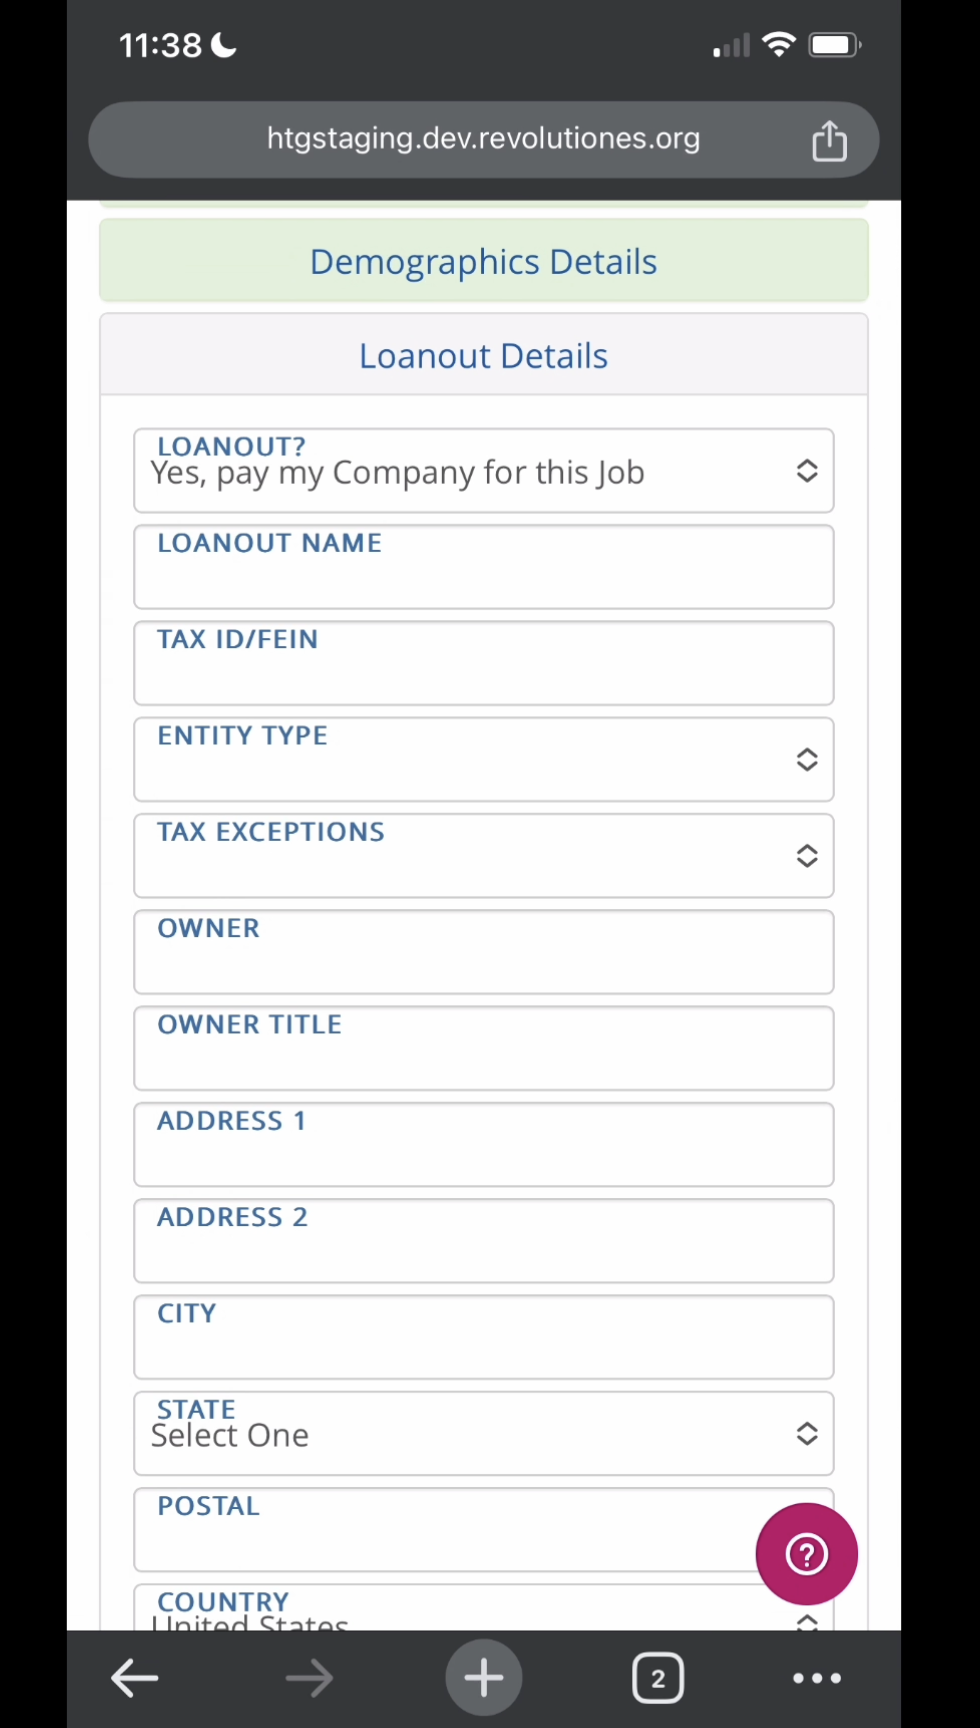
Loanout Details Module (if Production gave you the option to be paid through your S or C Corp):
This option will only be available if Production elects to pay loanout companies. If you do not see this option and want to be paid through your loanout company, please stop filling out the rest of your paperwork and contact production to see if they can switch you to a loanout. If they are able to change you to be paid through your loanout, please log back in after they've updated your paperwork.
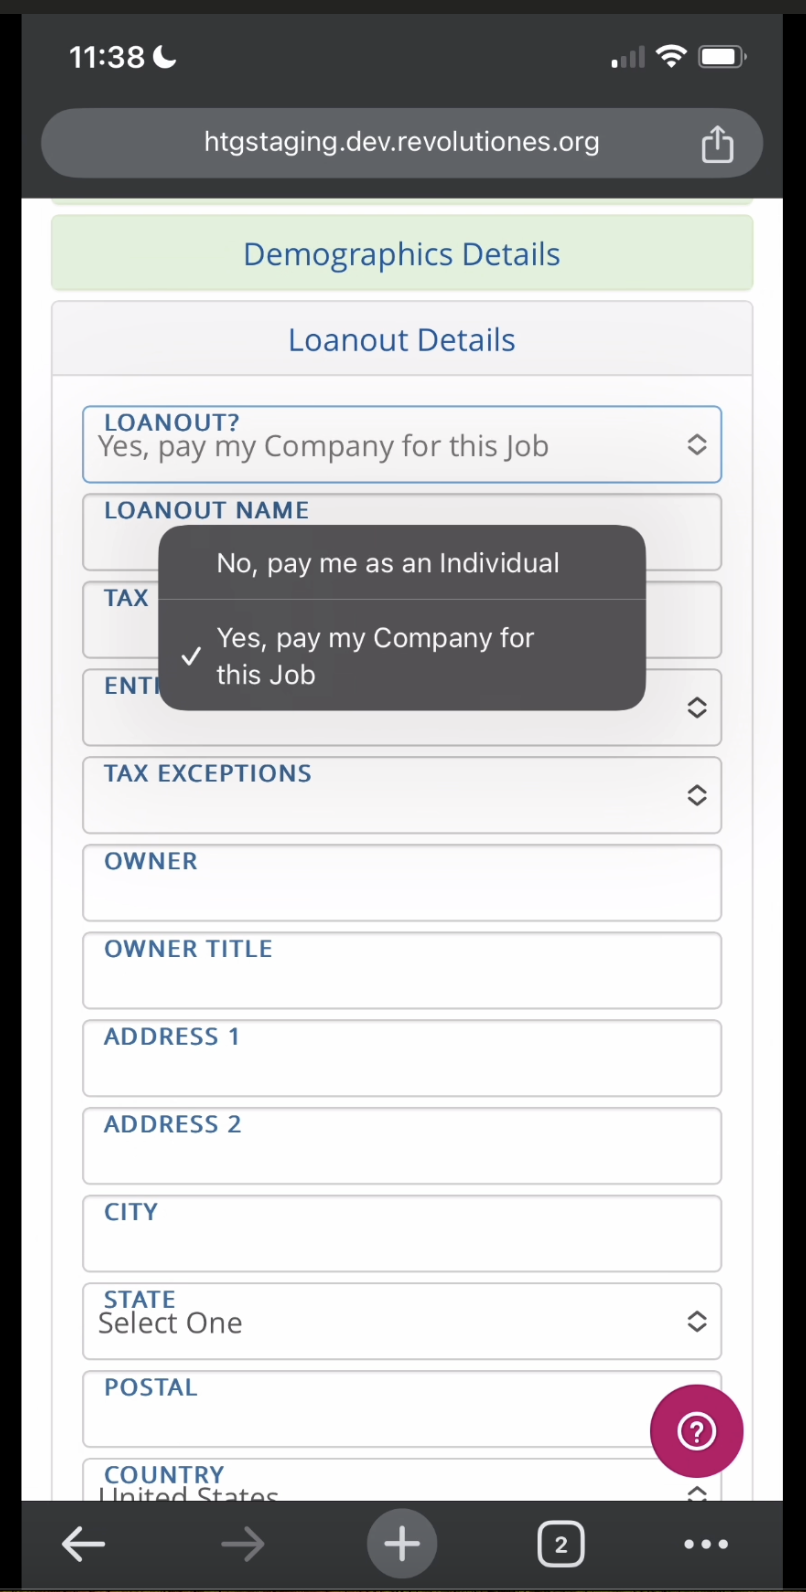
If you see this option (and have an S or C Corp, a letter from the IRS stating that you're taxed through your loanout company, and articles of incorporation), fill in all fields (including entity type and tax exemptions) and upload your articles (and, if applicable, a letter from the IRS stating that you're taxed through your loanout) via the red "Upload Loanout Paperwork" button at the bottom. You can click the button more than once to upload multiple documents. You will not be able to see what you've uploaded, but if you click "Save" after your document is loaded, rest assured, we have it! The fields you enter will generate a W9 tax form. Click "Next."
If you see this option and do not want to be paid through your loanout company, or do not have an S or C corp, you may click "Loanout? Yes Pay my Company for this job" and select "No, pay me as an individual." This will open an individual W-4 form (called "Witholding Info" module).
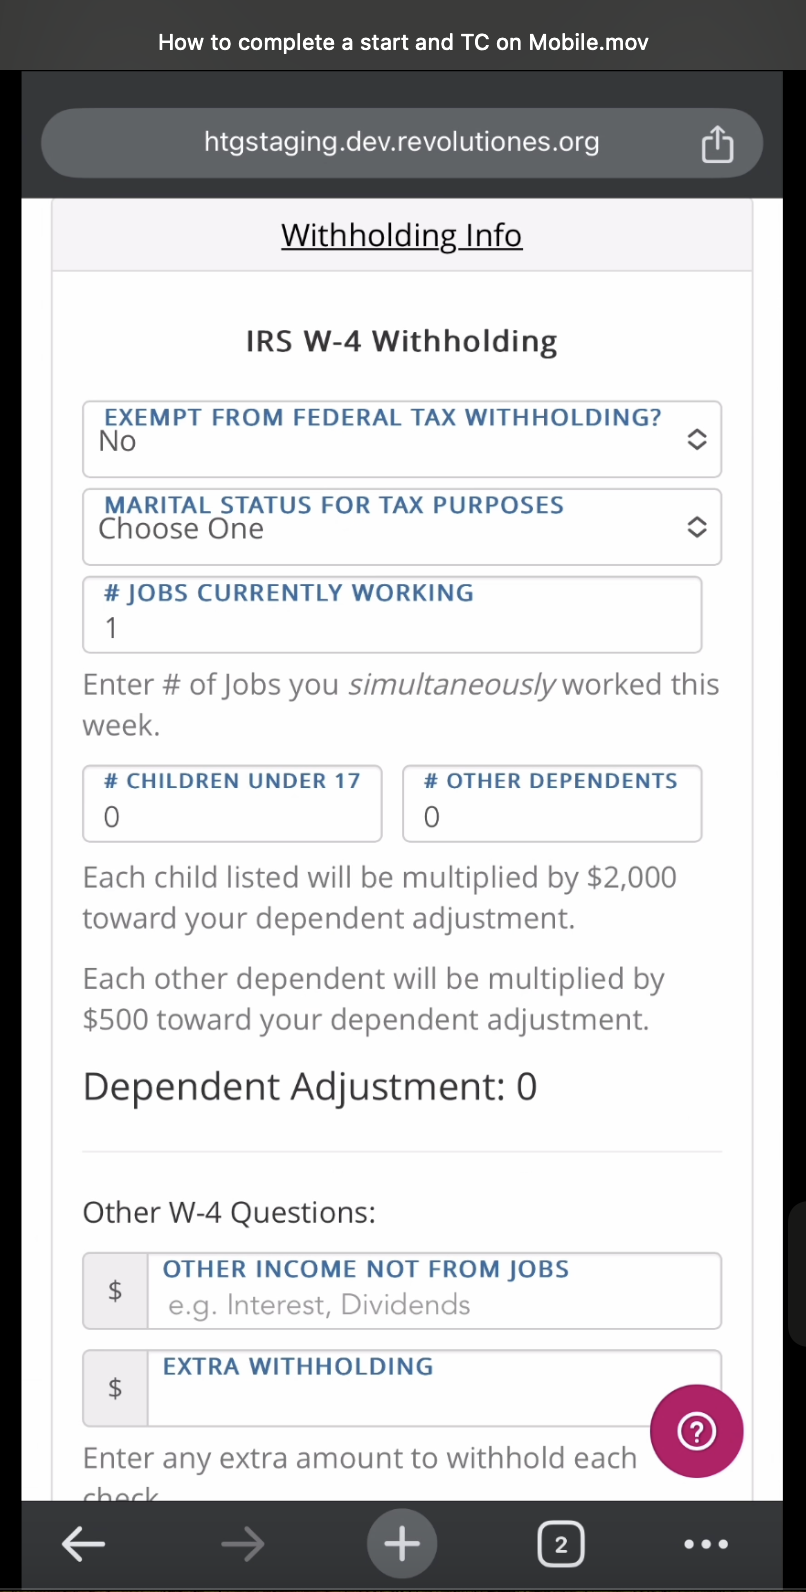
Withholding Info Module (if you don't have the Loanout option):
This is your W-4 Tax Form. If you're only working one job (this job) right now, have no children under 17 or dependents, and no other income or extra withholding, you need only select your Marital Status. Then, click "Next." If you have any other adjustments on your tax form, you can fill out the other fields (in addition to your marital status). If you have questions about how to fill out this tax form, please reach out to a tax advisor as we cannot provide tax advice. Click "Next" when you're done.
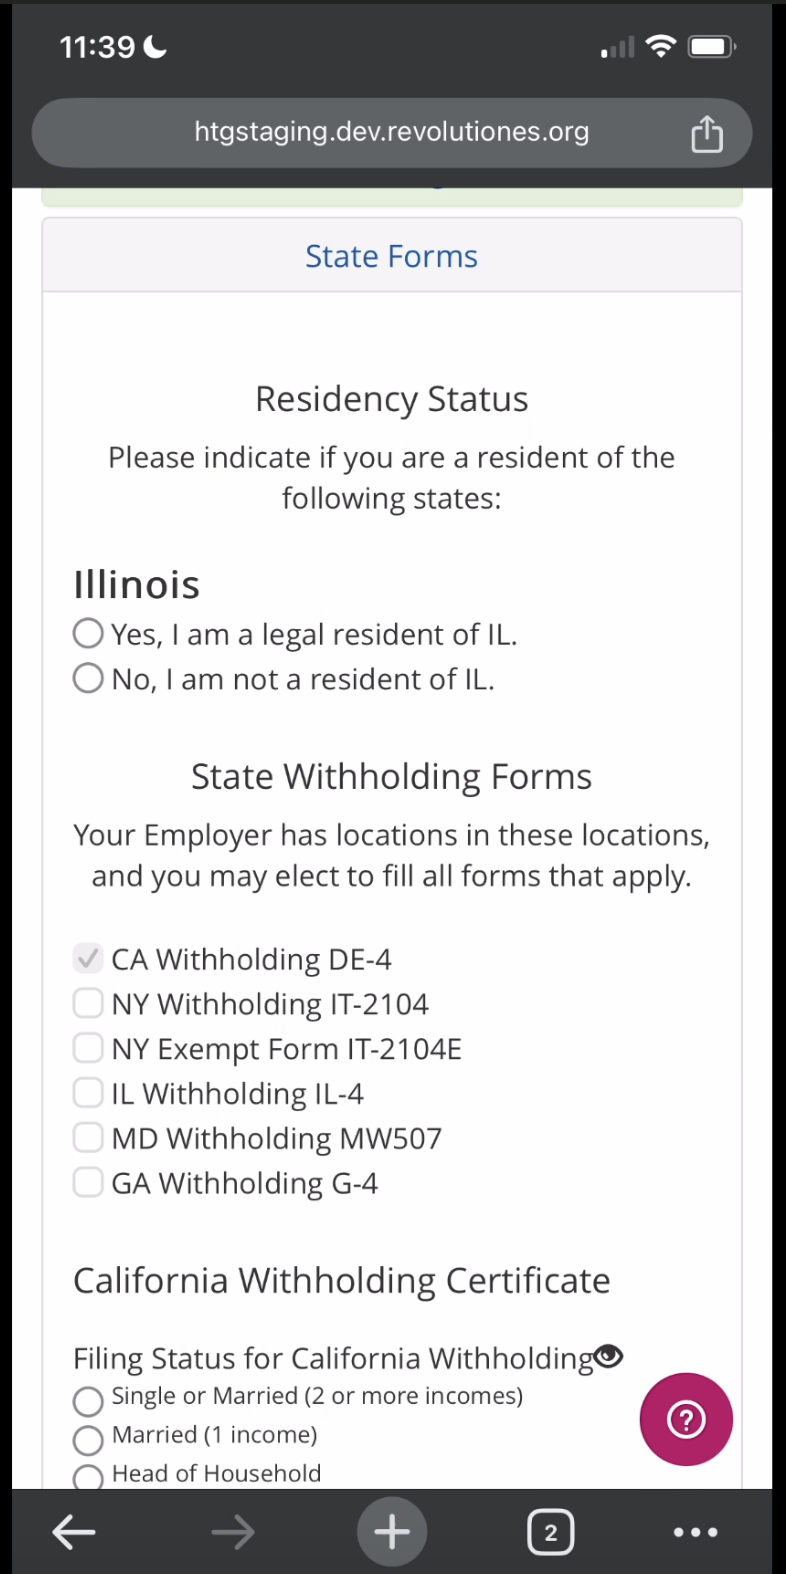
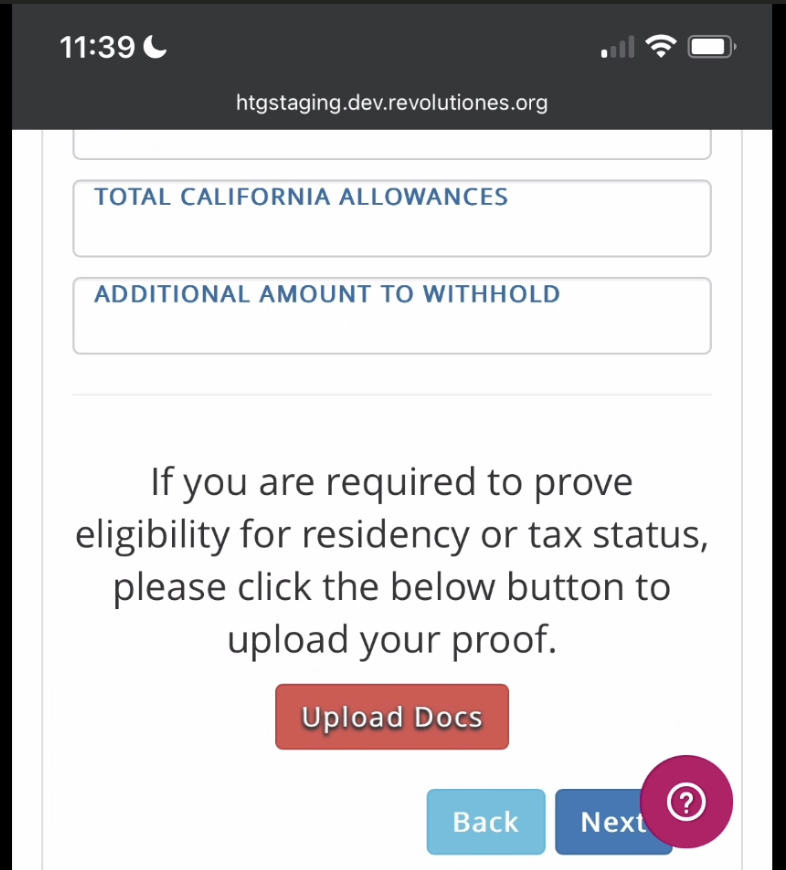
State Forms Module:
Depending on your Production's work location(s), it may ask if you're a resident of certain states. Answer Yes or No (and if yes, you must upload proof of residency (such as a Driver's Licence) on the bottom via the red "Upload Docs" button).
Most Producitons also have state tax forms you may fill out. If you need to fill out a state tax form, please do so. Then, click "Next."
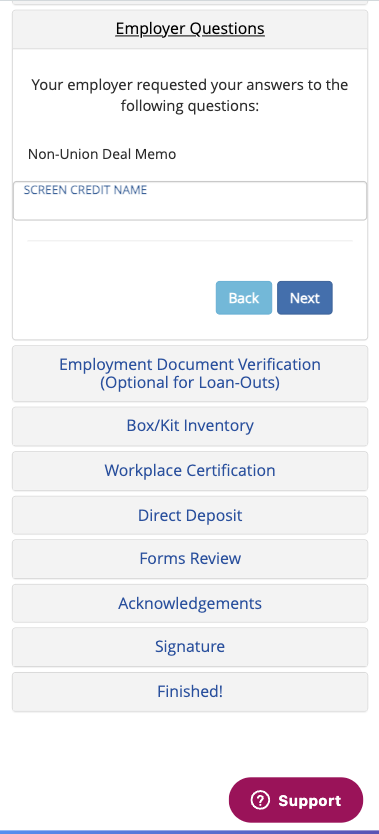
Employer Questions Module (if Production has a Deal Memo):
This module will only appear if your production has a deal memo (which you can read/review in the "Forms Review" module toward the end). This module will ask questions that will appear on the deal memo, such as how you'd like your screen credit name to appear in the production's credits (up to production discretion of course).
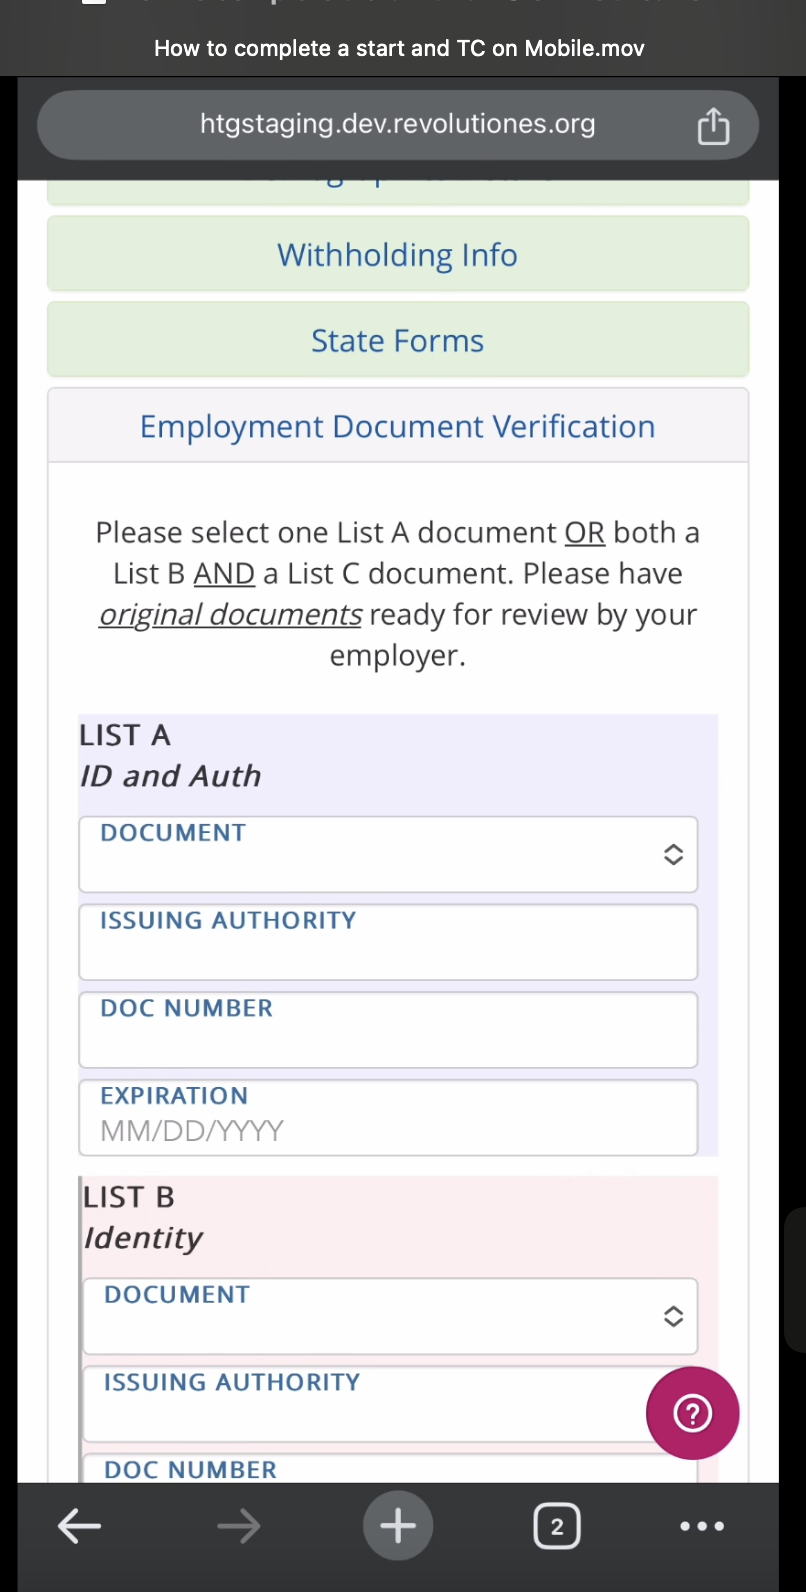
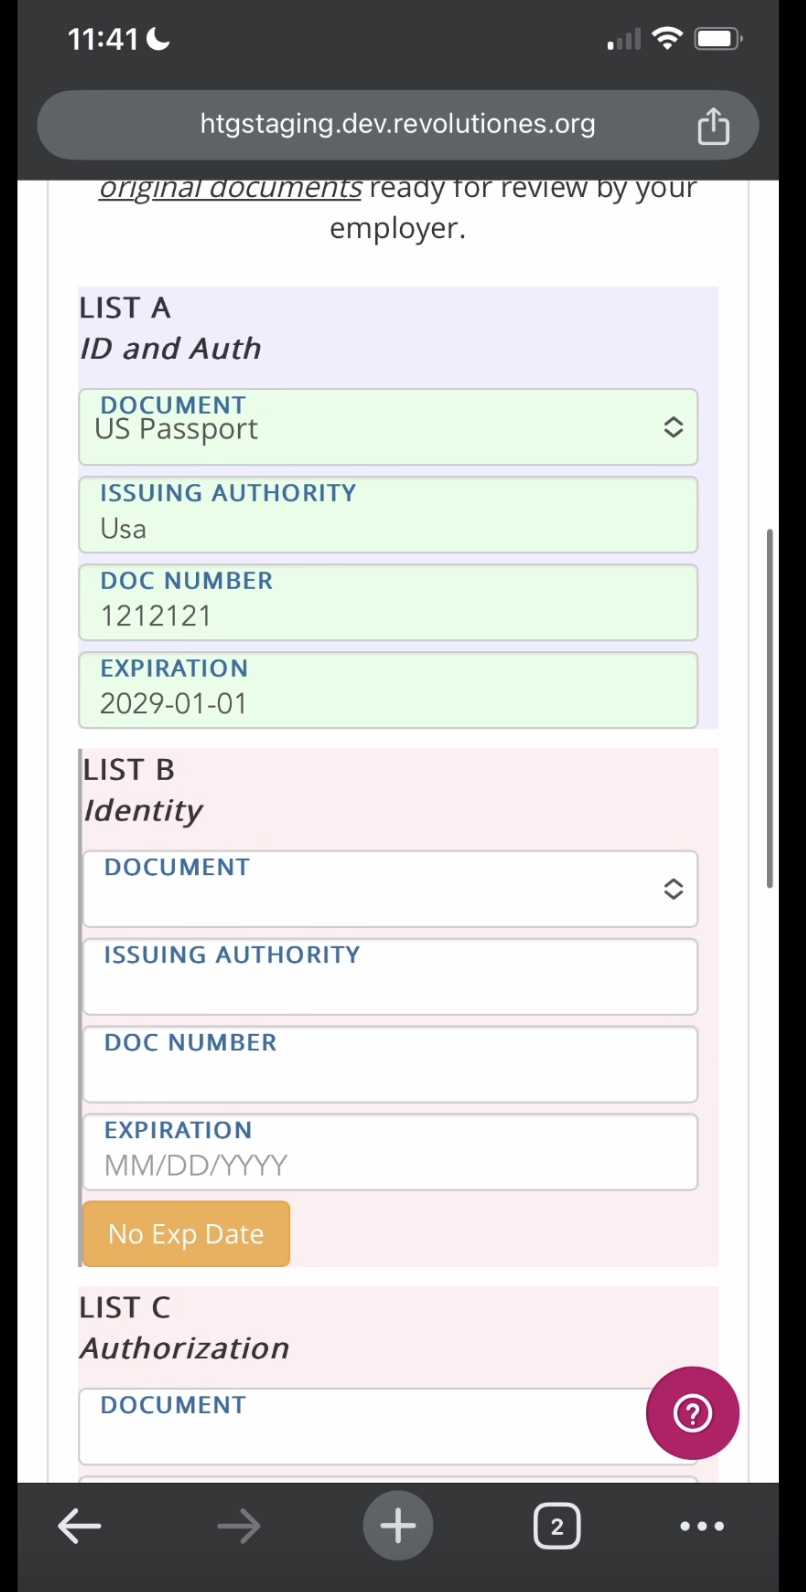
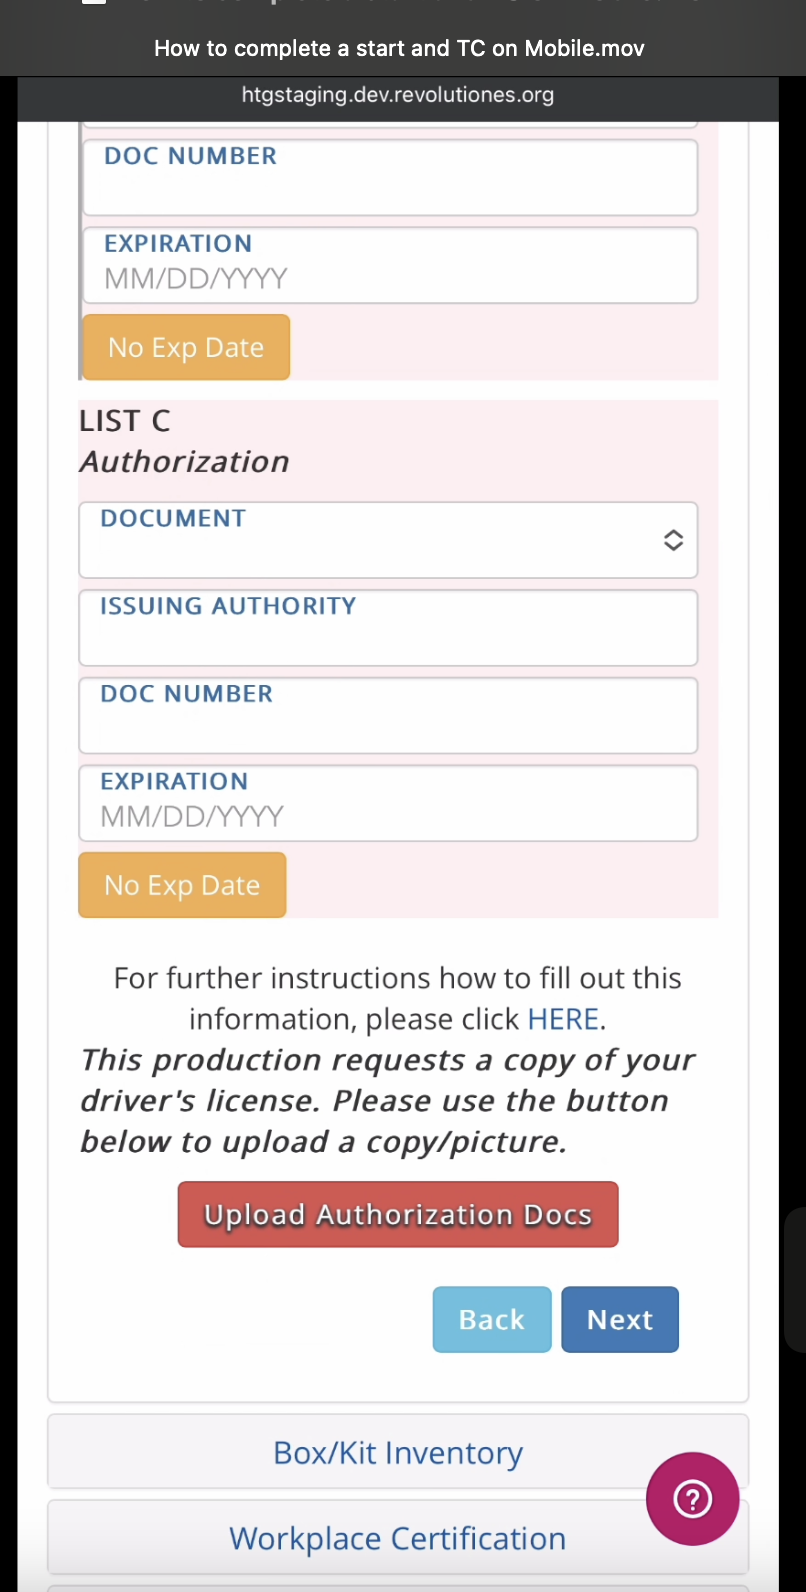
Employment Document Verification (I-9) Module:
Enter your List A document information, or, if you do not have a List A document, you may enter List B AND List C document information into the fields. Some documents, such as a List C Social Security Card, do not have expiration dates, and if so, please click "No Exp Date." Most productions require that you to upload pictures of your documents so they can verify your identity and right to work in the US. Please upload pictures of your documents via the red "Upload Authorization Docs" button on the bottom. Then, click "Next."
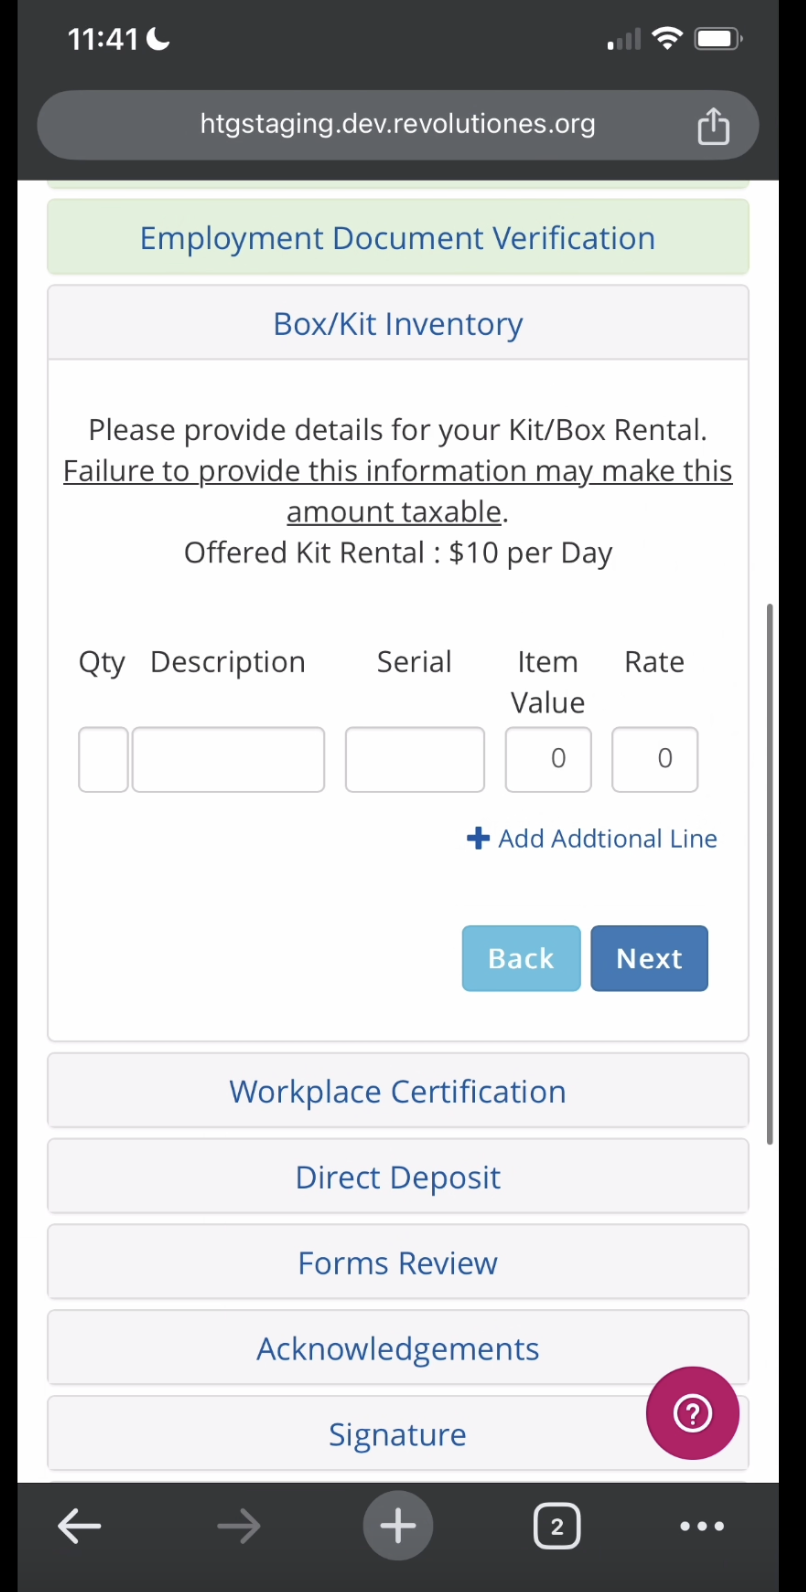
Box/Kit Inventory Module (if you were granted a kit rental by production):
Here is where you can itemize your kit rental. On mobile, the quantity of each item field doesn't work. So you can put the quantity of each item before the item in the description field. The serial number can be NA if your item(s) don't have a serial number. The item value is the value of all of your items together. Lastly, the rate is the rate production gave you which is visible on the top of the page. You can also upload your own kit inventory list in another module, such as the "Employment Document Verification" module via the red button at the bottom of that module as there is no button on the Kit module to upload your own inventory list.
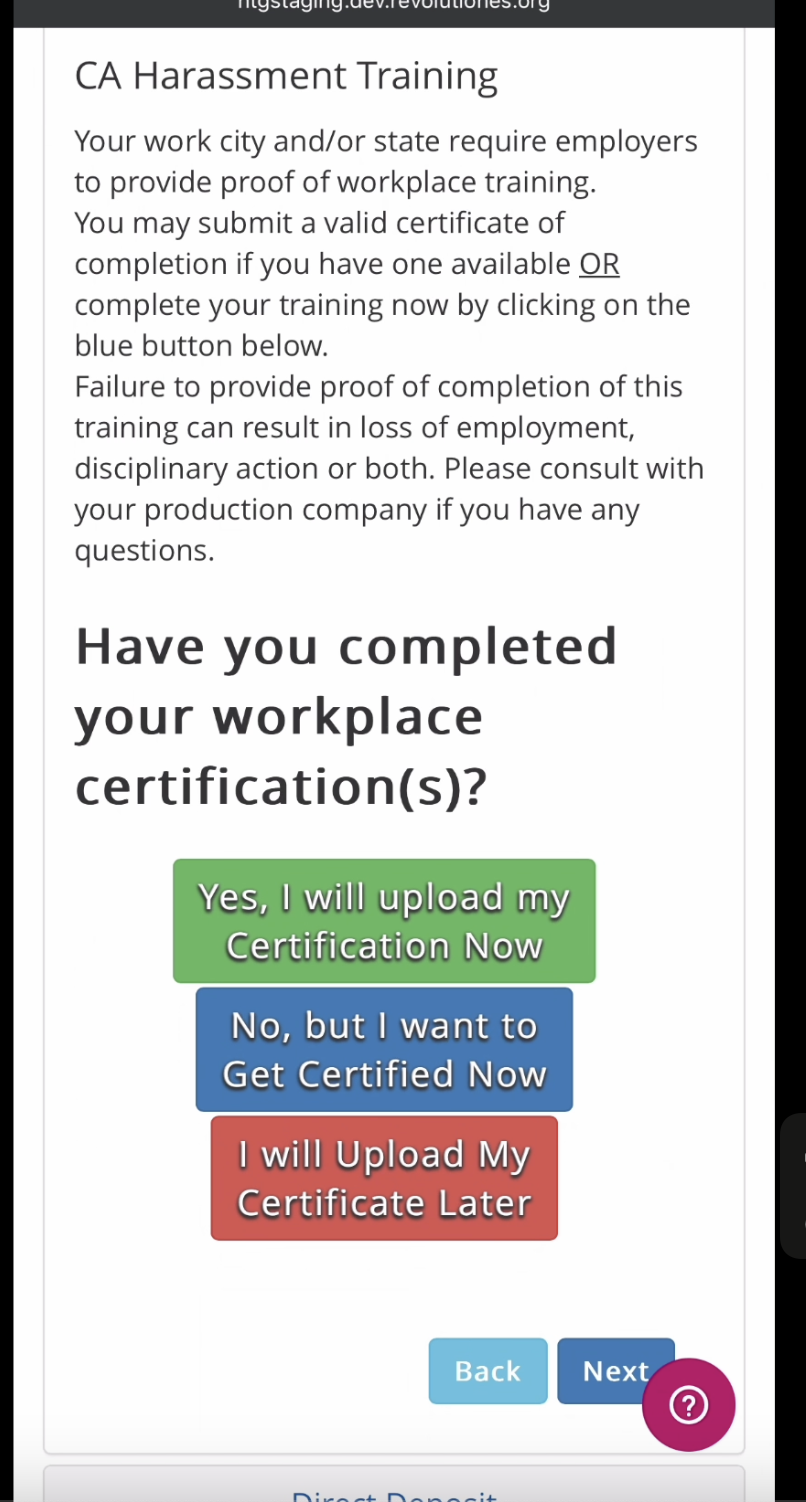
Workplace Certification Module (if Production requires Harassment Training):
If you have already taken a harassment training course you may upload your certification via the green button, if you'd like to take the course you can click the blue button, and if you'd like to upload your certification (after completing the course) later you may click the red button. Clicking the red button will show a button on your dashboard to upload your certificate at a later date, but it must be done before your production work ends.
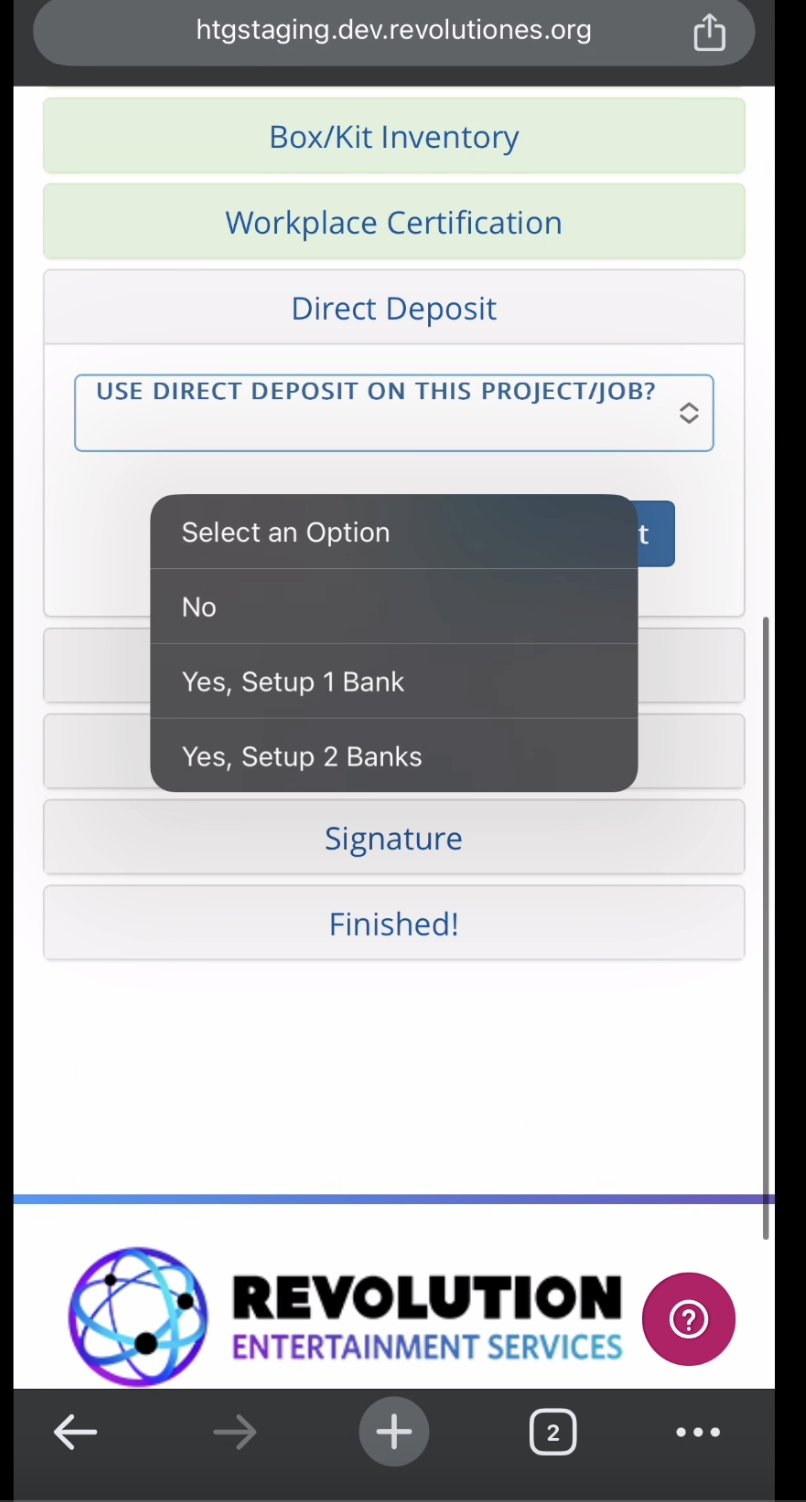
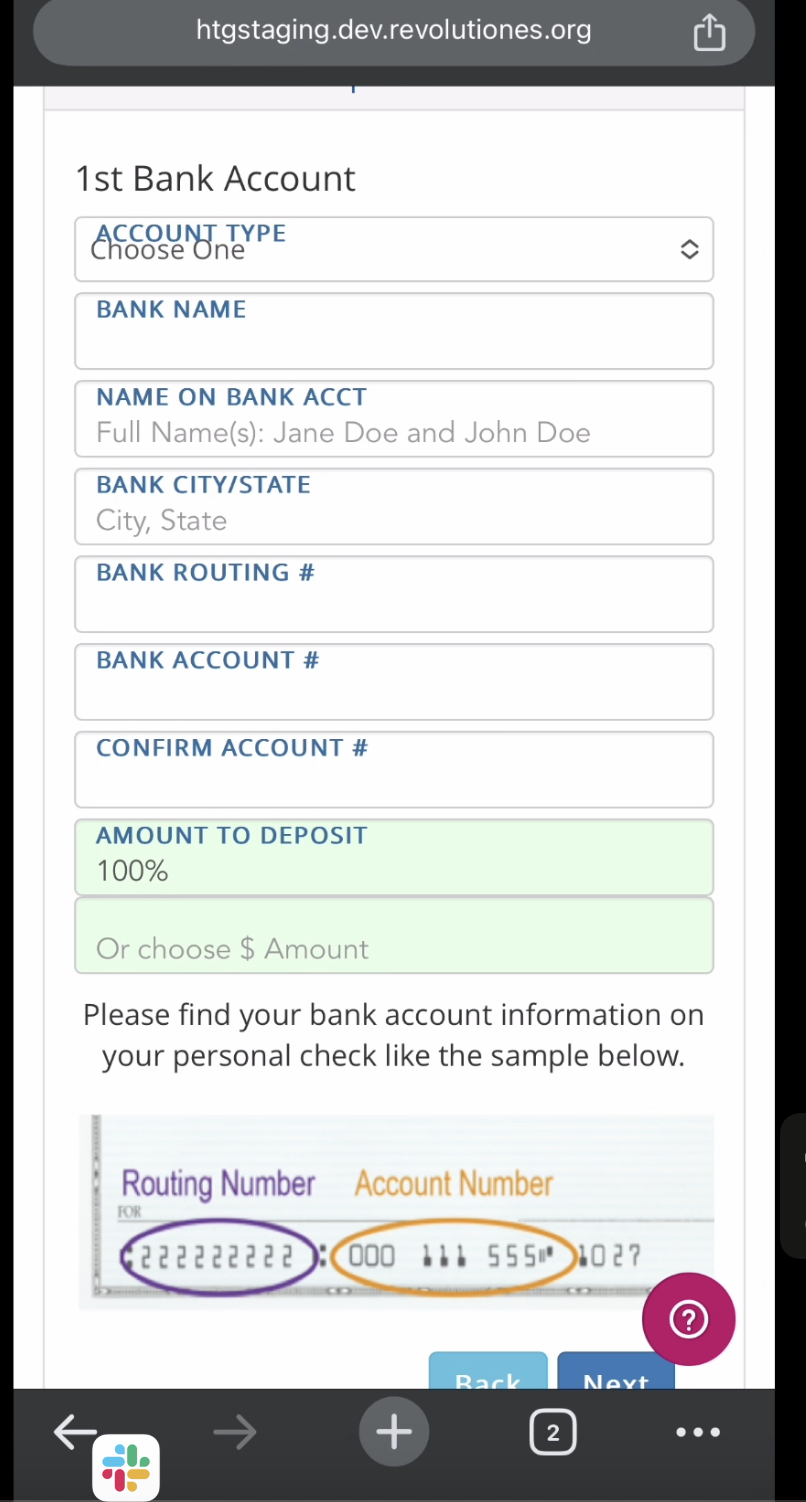
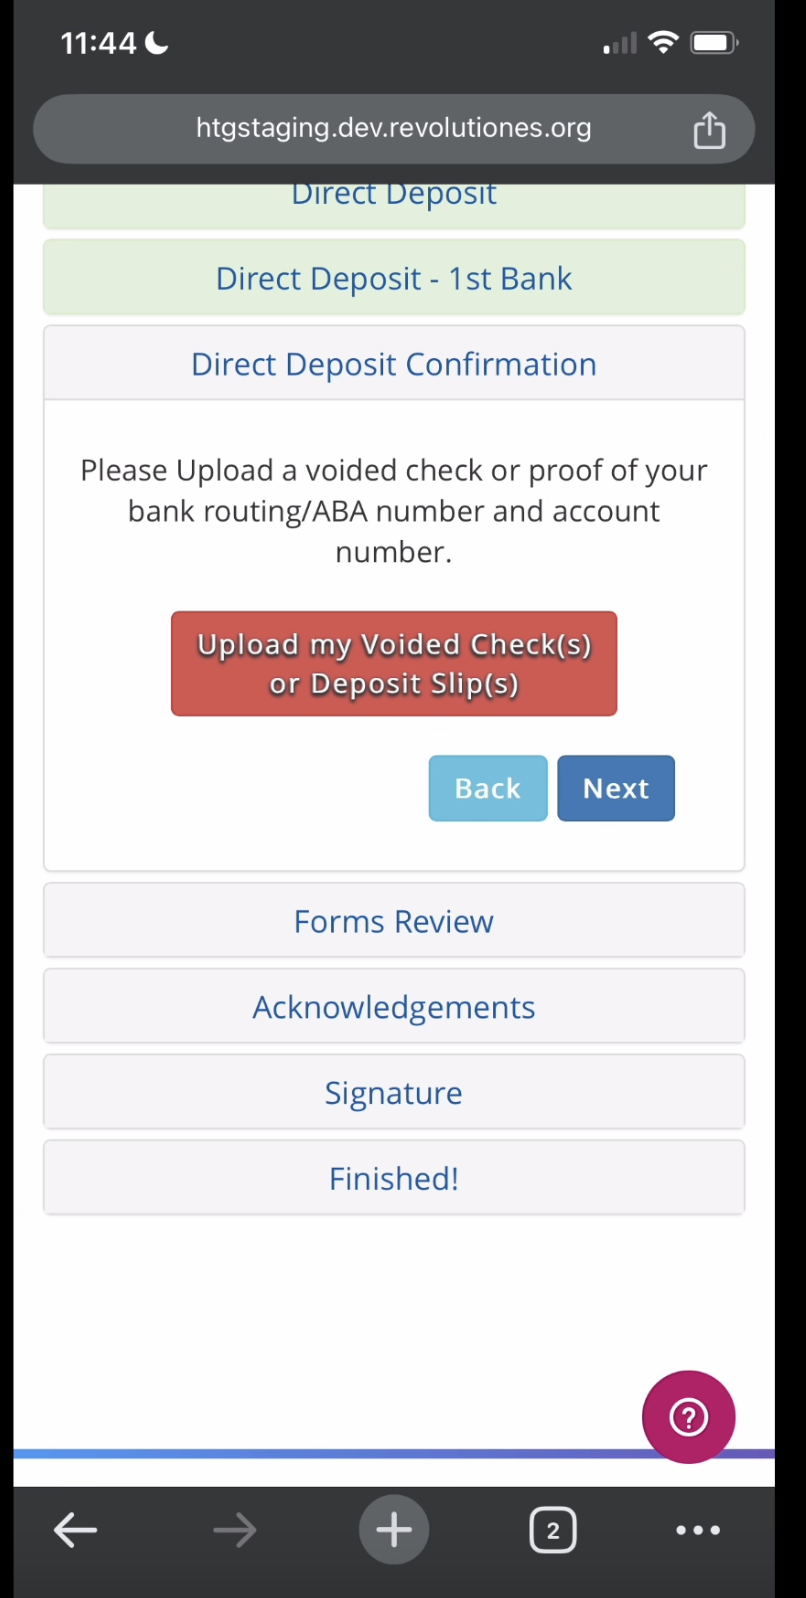
Direct Deposit Module:
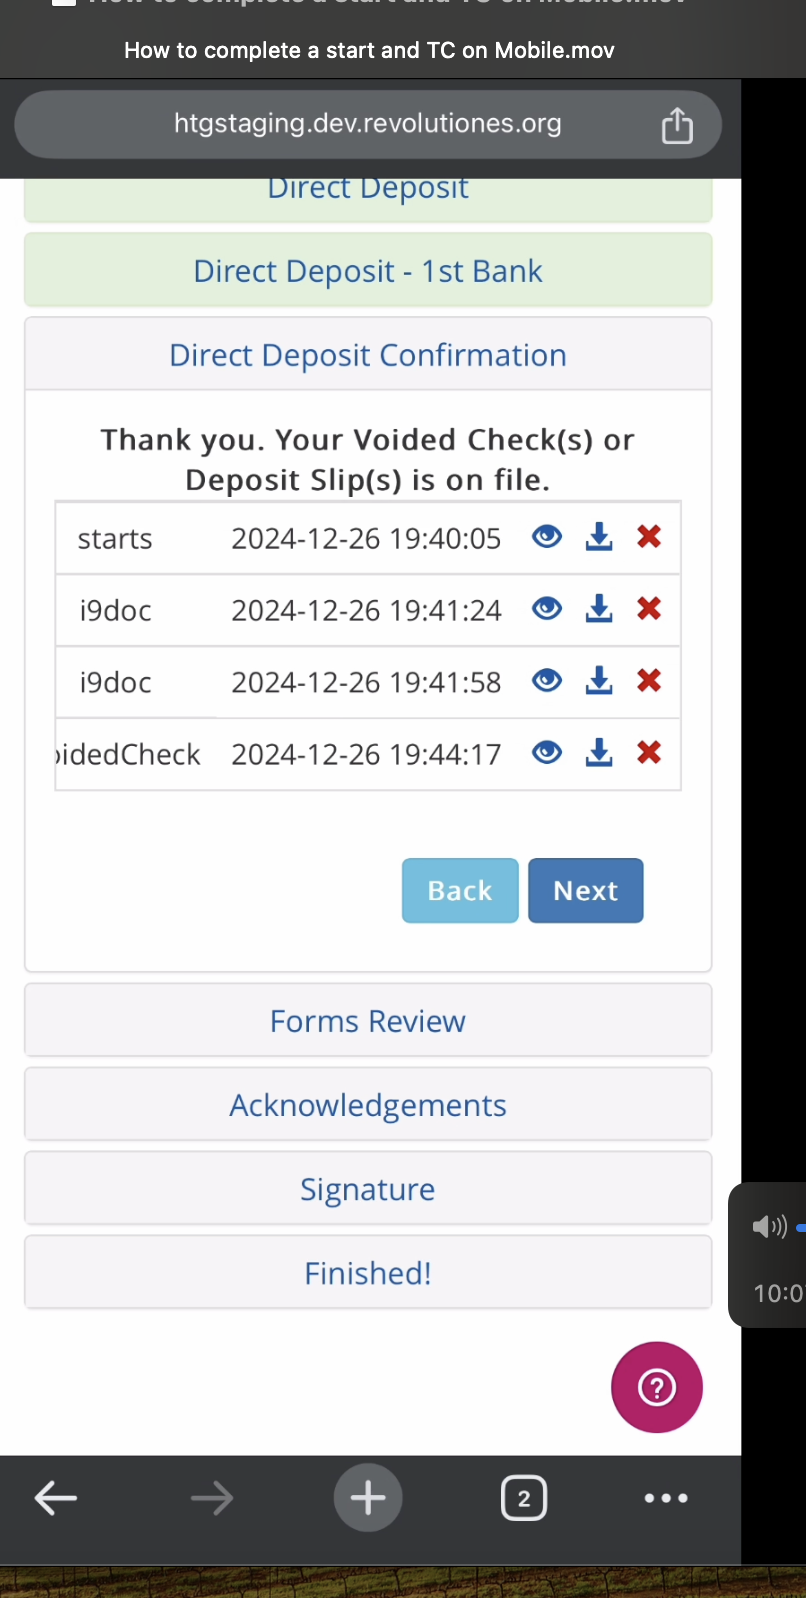
Selecting "Yes, Setup 1 Bank" will prompt you to enter your banking details and require you to upload a picture of a voided check, deposit slip from your bank, or screenshot of your bank's app showing your account and routing numbers so we can verify that your DD goes to you. The amount to deposit should always be 100% if you set up only one bank. After uploading your voided check or deposit slip, you'll click "Save" and you will then be able to see every document you've uploaded so far. This is the only place to see what you've uploaded. You can only view one document in a new tab at a time, and you will have to close the previous tab showing your document view in order to see another image.
If you want your entire check to go to your agent via direct deposit, fill out your agent's DD information, and upload a check authorization form as well as a confirmation of their account and routing number via the red "Upload my Voided Check(s) or Deposit Slip(s)" button.
Selecting "No" means you will be mailed a paper check to your mailing address (if you left your mailing address blank because it's the same as your permanent address, it will get sent to your permanent address).
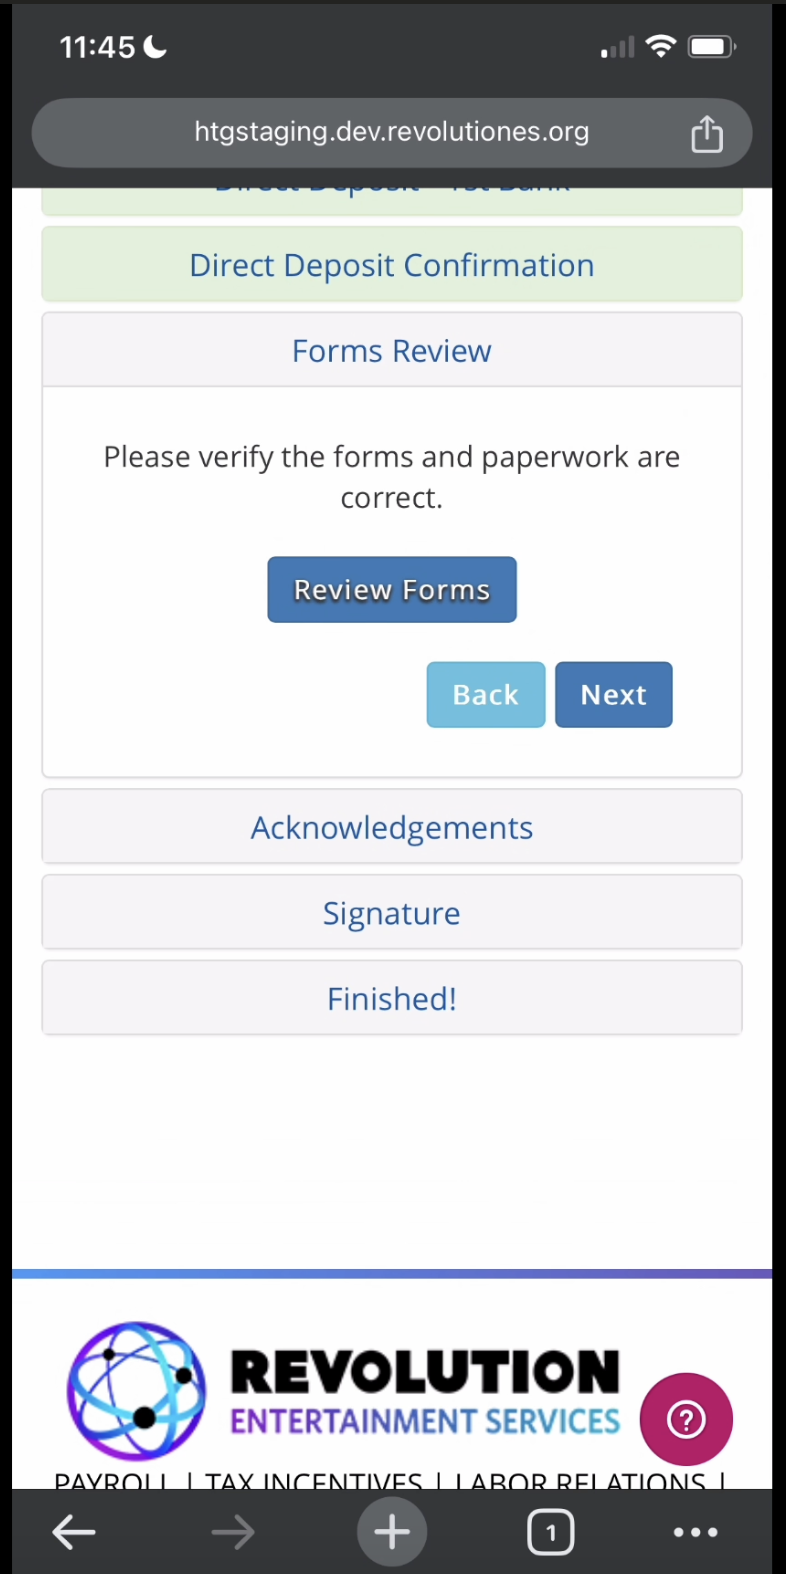
Forms Review Module:
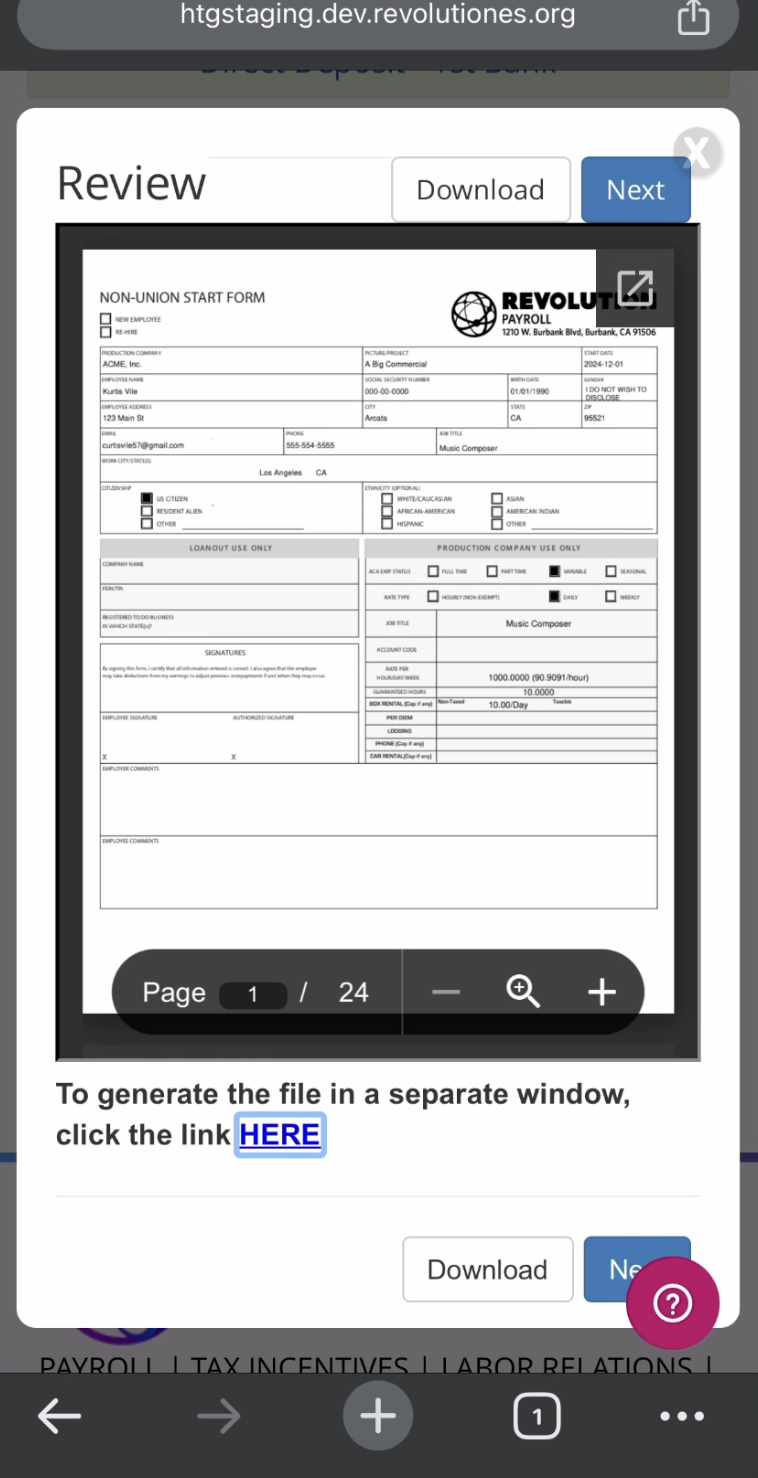
Click "Review Forms" and wait a few seconds for a pop-up to load. This will show all of your unsigned forms (including any deal memos or other documents production has sent you) with the data you've entered thus far. Your I9 data will be blank until production approves it. Click "Next" on that pop-up after you've reviewed your forms. If you do not wish to review your forms, click "Next." You're almost done, but do not exit now because your acknowledgments and signature are required to finish your paperwork.
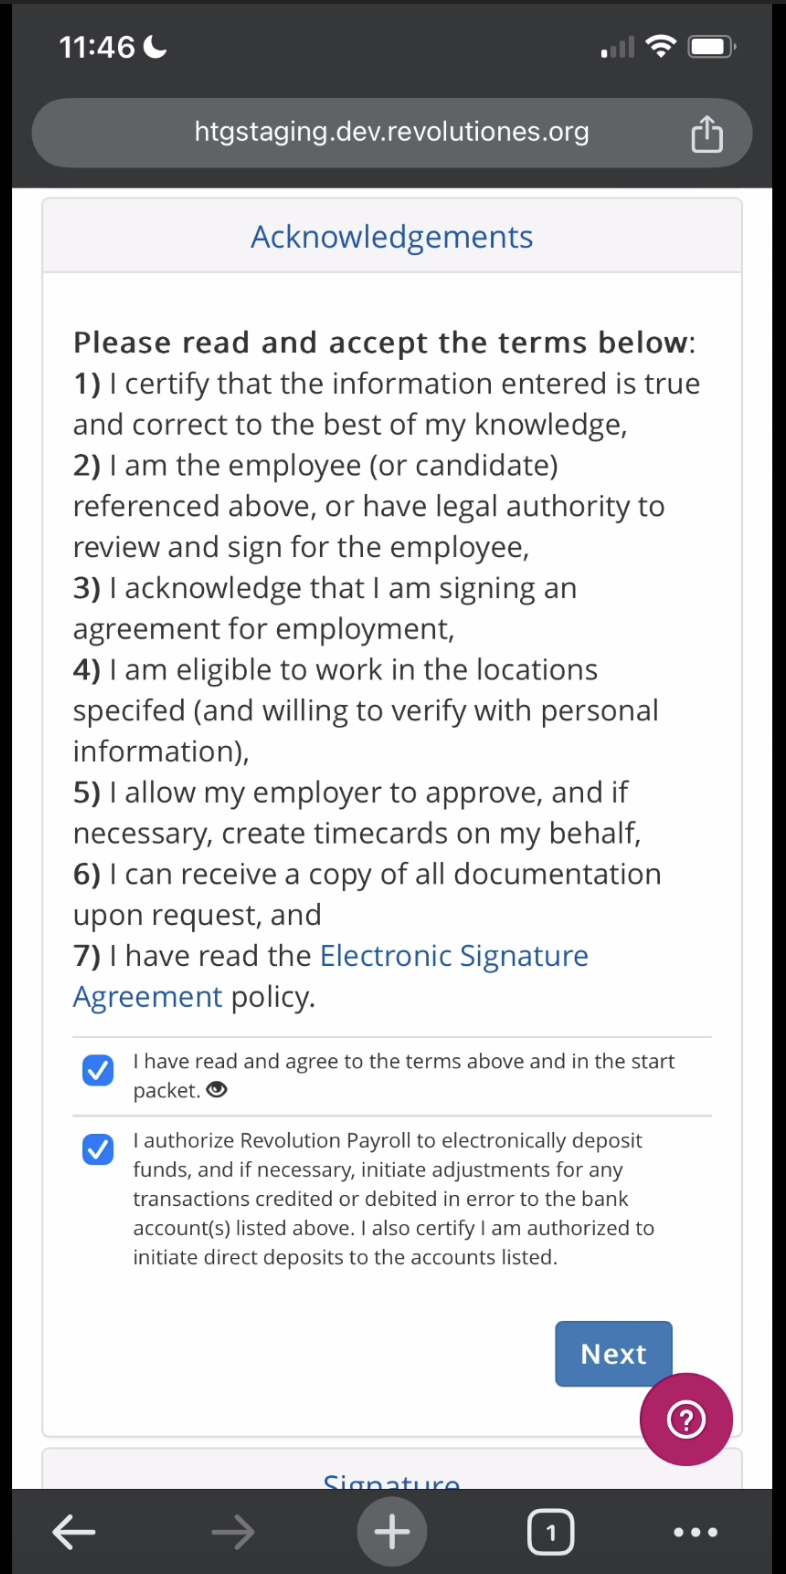
Acknowledgements Module:
Check off all Acknowledgements, then click "Next."
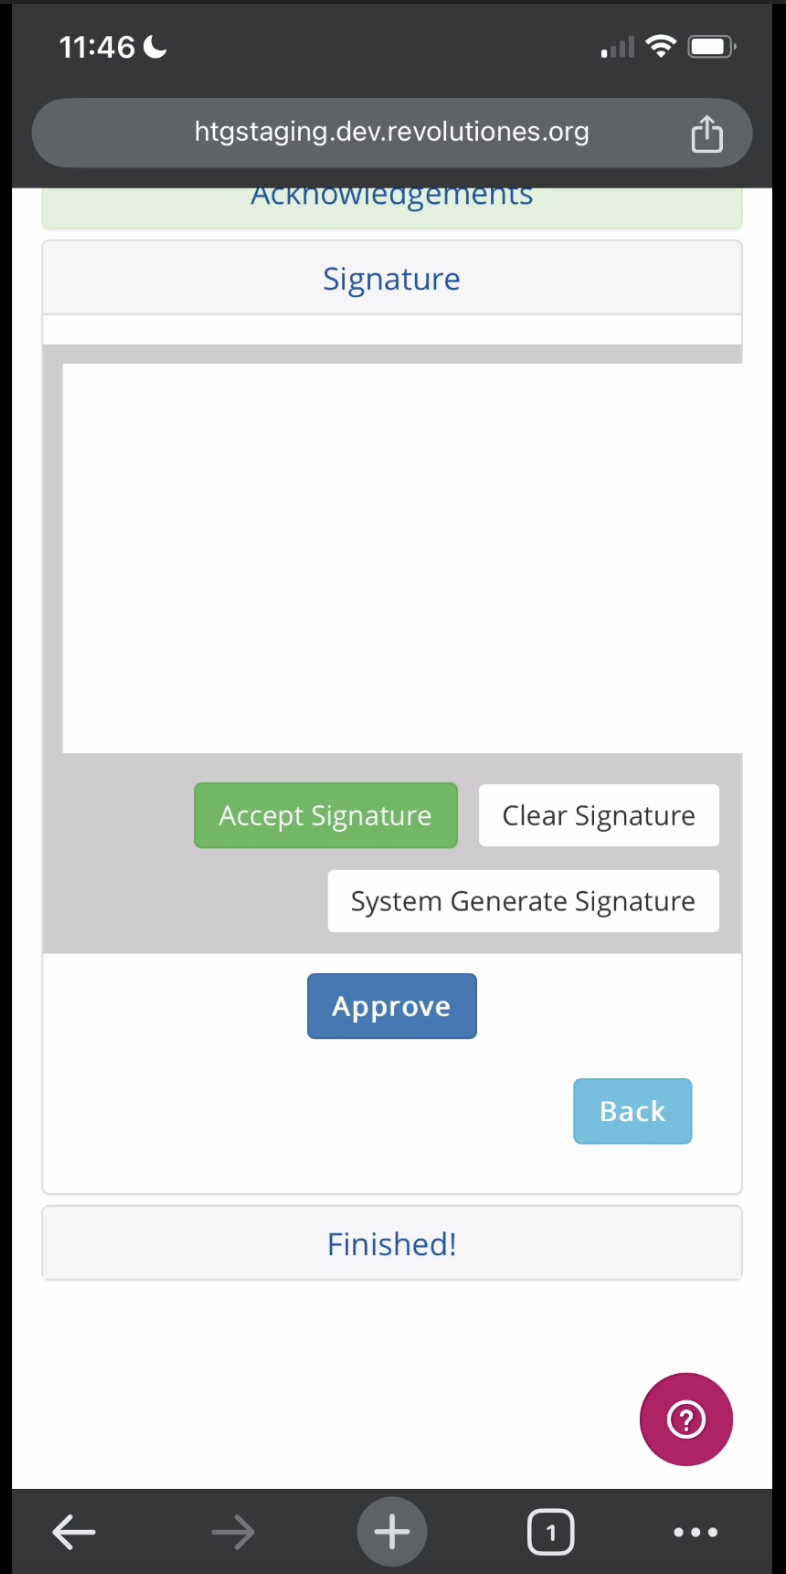
Signature Module:
You can use your finger on your phone to draw a signature, or "System Generate Signature" (it will appear cut off, but it won't be cut off on your paperwork), click "Accept Signature" then "Approve." The "Finished" module below is not functional, and you won't have to click anything after approving your signature. After approving your signature, you will then get a pop-up that says "Start Approved." Click "OK" on that pop-up to be directed straight to your timecard to enter times worked, and you can click the three lines in the top-right corner of your timecard to see your dashboard where you can view your completed start paperwork via the "Print Start Forms" button.

Questions? Need more help?
Please email support at support@revolutiones.com with your full name, the name of the project(s) you're working on, and a good email or phone number for us to reach you at or call 800-985-9238 M-F 6AM-6PM (PST). If it's outside our business hours, we will get back to you as soon as we can.